Amateur Woodworkers

Monday, March 27, 2006

Coffee Table

Here's the project that got me started down this slippery woodworking slope. It only took about a year!

Saturday Tables

Right about the time we glued up the legs for headboard-end of our platform beds and were starting to contemplate the next step which involved mortise and tenon joinery, Maverick decided we need to practice a little before we potentially ruined our beautiful (and expensive) maple. He found some plans for a shaker "saturday" table in one of his woodworking magazines. I have no idea why it's called a "Saturday" table.


Other than some crazy looking tapered octagonal legs it seemed like a pretty straight forward small piece of furniture that would require the apron to be attached to the legs with simple mortise and tenon joints. Maverick's plan was to use basic scrap lumber he had lying around the shop and he went ahead and built one pretty quickly.


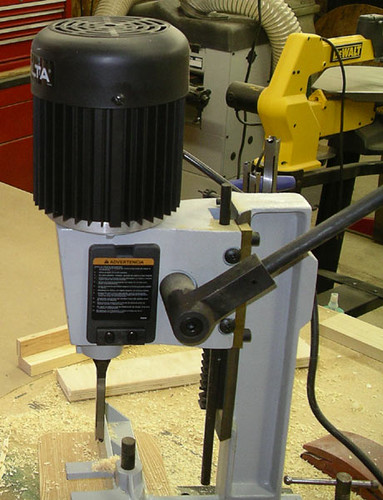
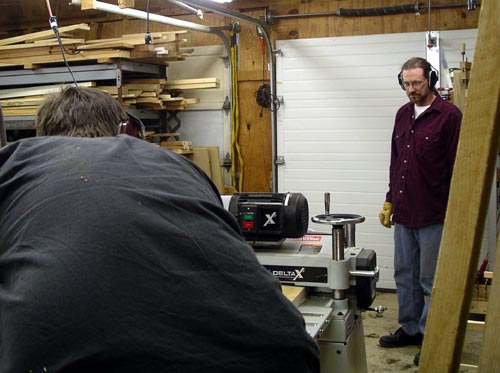
Let me take this opportunity to make a basic observation about Maverick: he has never met a woodworking jig, tool, or gadget that he hasn't fallen in love with. So Maverick happens to own a mortise cutter (something I never would have even guessed existed a few weeks ago.) I am certainly not complaining about Maverick's acquisitive habits and in fact I am benefiting greatly from his impressive tool collection. (He also appears to be in some sort of tool arms-race with our friend KD).


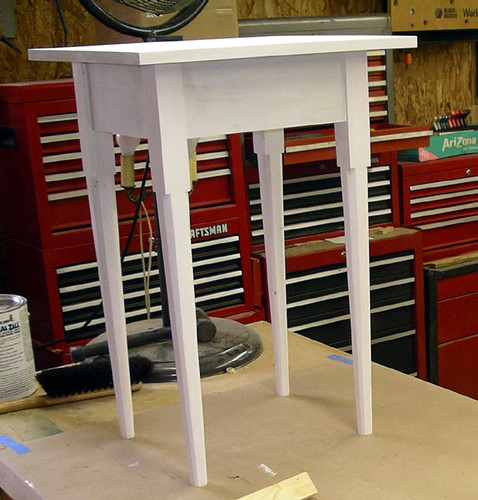
So Maverick went ahead and whipped one of these tables out last week and I have to say it turned out very nicely. Since he had used crappy pine 2x4s and some old poplar, he painted it, but I would guess that if he had made it with walnut as the plans called for it would have looked very presentable.


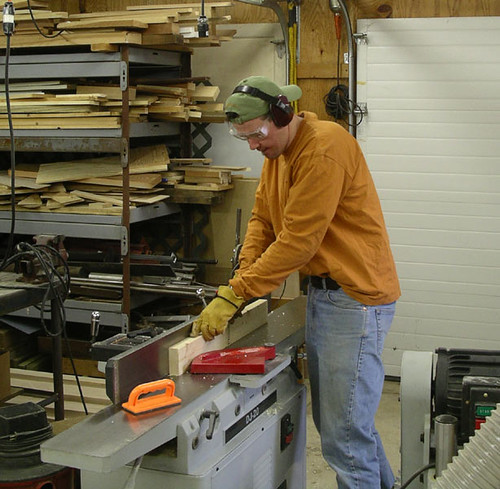
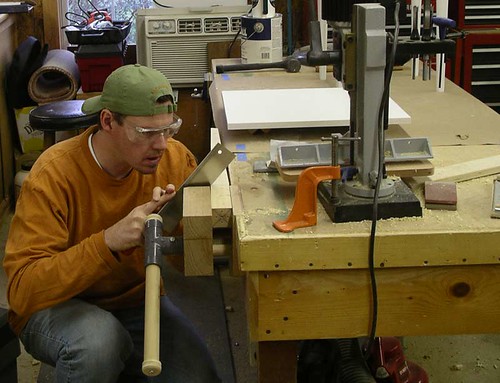
On Saturday it was my turn to make the table. While Maverick primed, sanded, and primed his table I was hard at work at the jointer, planer and table saw getting my scrap lumber ready to be transformed into a "saturday" table, too.

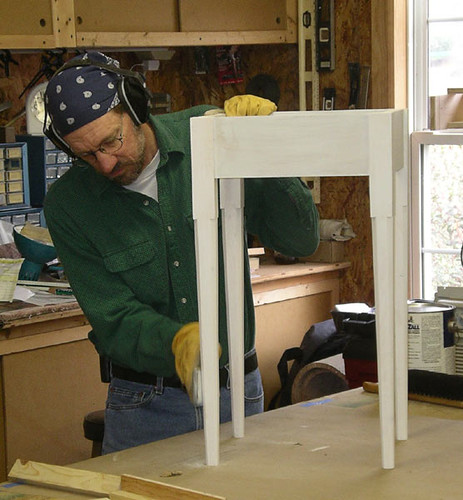
The tricky part of the table is the legs and these are made possible by a jig that, luckily, Maverick had already created for his table.


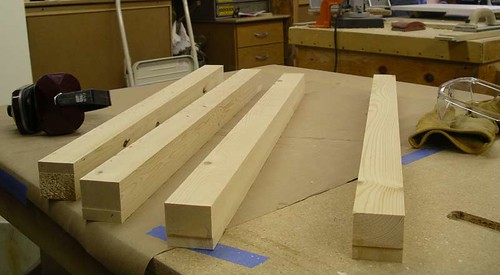
After getting little help with how the jig worked I was quickly screwing up my first leg. My mistake was two-fold: first I had never used a band saw before so it took me a little bit to get a feel for it, second when it came time to use the jointer to clean up the rough-cut tapers on the leg I jointed a little bit too high and took some wood off the part of the leg that has to be straight in order to connect to the apron.


The second leg was much better, but still had the jointer problem. I ran out of time before I could screw up the next 2 legs. I talked to Maverick today at work and he thinks I should just make 2 more legs and write-off the first two. I may do this.

Monday, March 20, 2006

Beyond Jointing and Planing


We finally moved (slightly) beyond the finishing of our unfinished lumber. On Sunday we actually glued some pieces together that will be the headboard legs. Each glued piece will make two 3"x3" legs.


We noticed that the Titebond glue we used for the first 2 boards seemed to set up VERY quickly. Maverick attributes this to the glue being old. For the second two boards we used some slow setting glue.

Notice the nice clamps that Maverick has. This is one of the many keys to being a successful and happy woodworker: lots of clamps. Maverick has plenty.

Calibrating the Tools


I showed up at the shop the other day and found Maverick grumbling about his jointer. Apparently some of the screws holding the blades on were loose. He then found out that the blades were slightly uneven.


Since Maverick used to be a machinist he has some pretty accurate tools.

Saturday, March 18, 2006

Making sawdust

One of the many things I didn't understand about woodworking before this project began was what's involved when you want to use decent wood for a project. As I already mentioned, you can't just hop in the car and head over to Lowe's or Home Depot. While they have some premium wood it's expensive the sizes aren't really adequate for what you need. So you have to go to a place like we did and get rough cut lumber. The sizes are measured in quarters; we bought 8/4 maple which means that the boards are 2 inches thick and ranged from 6 to 9 inches wide. All the boards were about 8 feet long. You are charged by the board foot (1 board foot would be a piece of wood 1 foot long one foot wide and 1 inch thick).


Because the lumber is rough cut you can't really see what the grain looks like until you get it back to the shop and joint it. In the picture above you can see the difference in our maple stock.


It's also important to find wood that is relatively straight (without curves, bows and cups). We thought we had done this, but when it came time to joint and plane the wood almost half the boards had some serious problems. We were still able to salvage almost all of it, but sometimes in the process we reduced the thicknes of the board from 2 inches to 1 1/2 inches. You can see some of the cupping that we had to deal with in the picture above.

What happens to that wasted 1/2 inch?

Friday, March 17, 2006

Wood moves (twists, warps, cups, etc...)

I went to Maverick's house on Wednesday night to start joining and planing our maple. Some of the wood didn't seem to want to be made into a bed. Since we had brought it back from the wood lot and stacked it in the shop almost half the pieces had developed alarming deficiencies.

We aren't sure why the wood has twisted and bowed so much. It had been sitting in a covered shed at the lumber yard. It is supposed to be kiln dried. Three of us examined each piece to make sure it was relatively straight. We moved it into Maverick's shop that he swears has a high humidity level and stacked it with spacers. Could the problem be drastic changes in the moisture content of the wood? Most serious wood workers have moisture meters that allow them to very accurately measure the amount moisture content of the wood. We don't have one.

Another depressing thing is the fact that there was some worm/grub damage. We probably should have caught that.


We started out by trying to pick out the best pieces to be used as the long bed rails. The first 4 or 5 pieces that we looked at were so screwy that if we tried to join them they would end up being 1/4 inch thick. Eventually we found some decent pieces and got to work.


We had to run the first side through about 5 or 6 times to get it smooth and flat.


After reflecting on the choice of maple for the beds Maverick has some regrets. He is convinced that because maple is such a hard wood that it will destroy all of his tools. So far so good. The blades on the joiner still look relatively sharp after joining 4 or 5 boards.

After joining one side and then an edge we moved over to the planer.


I fed it through and Maverick collected it at the other end.


After a few passes through the planer we ended up with something that looked like this:


For the bed rails we need 7 x 1 1/2 x 80 inch boards. After the joining and planing we still have plenty of thickness (most boards are over 1 3/4 inches thick). We are going to have to glue 2 pieces together to get to 7 inches wide.

Even after joining and planing the wood it seemed to have developed a slight bow, so far, though, no twisting.